


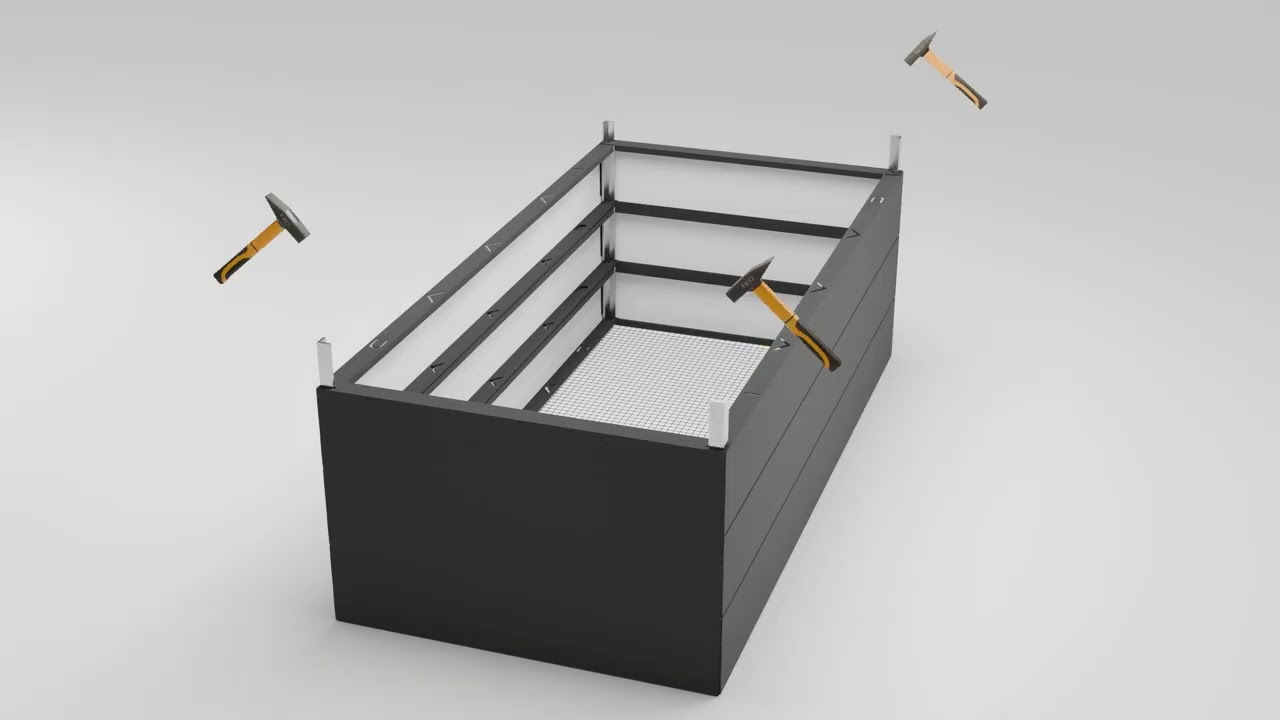
How to Assemble a Metal Raised Garden Bed: Step-by-Step Instructions
A raised garden bed is a convenient solution for your garden or vegetable patch: no need to bend down to the ground, the soil warms up faster, and moles and weeds barely bother the plants. In this article, we'll walk through the assembly of the GARTENDEK metal raised garden bed.
What You'll Need
For assembly, you'll only need a hammer and 30 minutes per bed. If you've already assembled our bed before, reassembly will take 10–15 minutes.
Step 1. Check the Box Contents
Unpack the box and check the completeness before starting assembly — so you won't be interrupted mid-process. Put on the gloves from the kit right away for comfortable work.
Contents:
- Long metal panels — 6 pieces
- Short metal panels — 6 pieces
- Fixing stakes — 12 pieces
- Crossbars — 3 pieces
- Gloves — 1 pair
- Mole mesh — 2 pieces
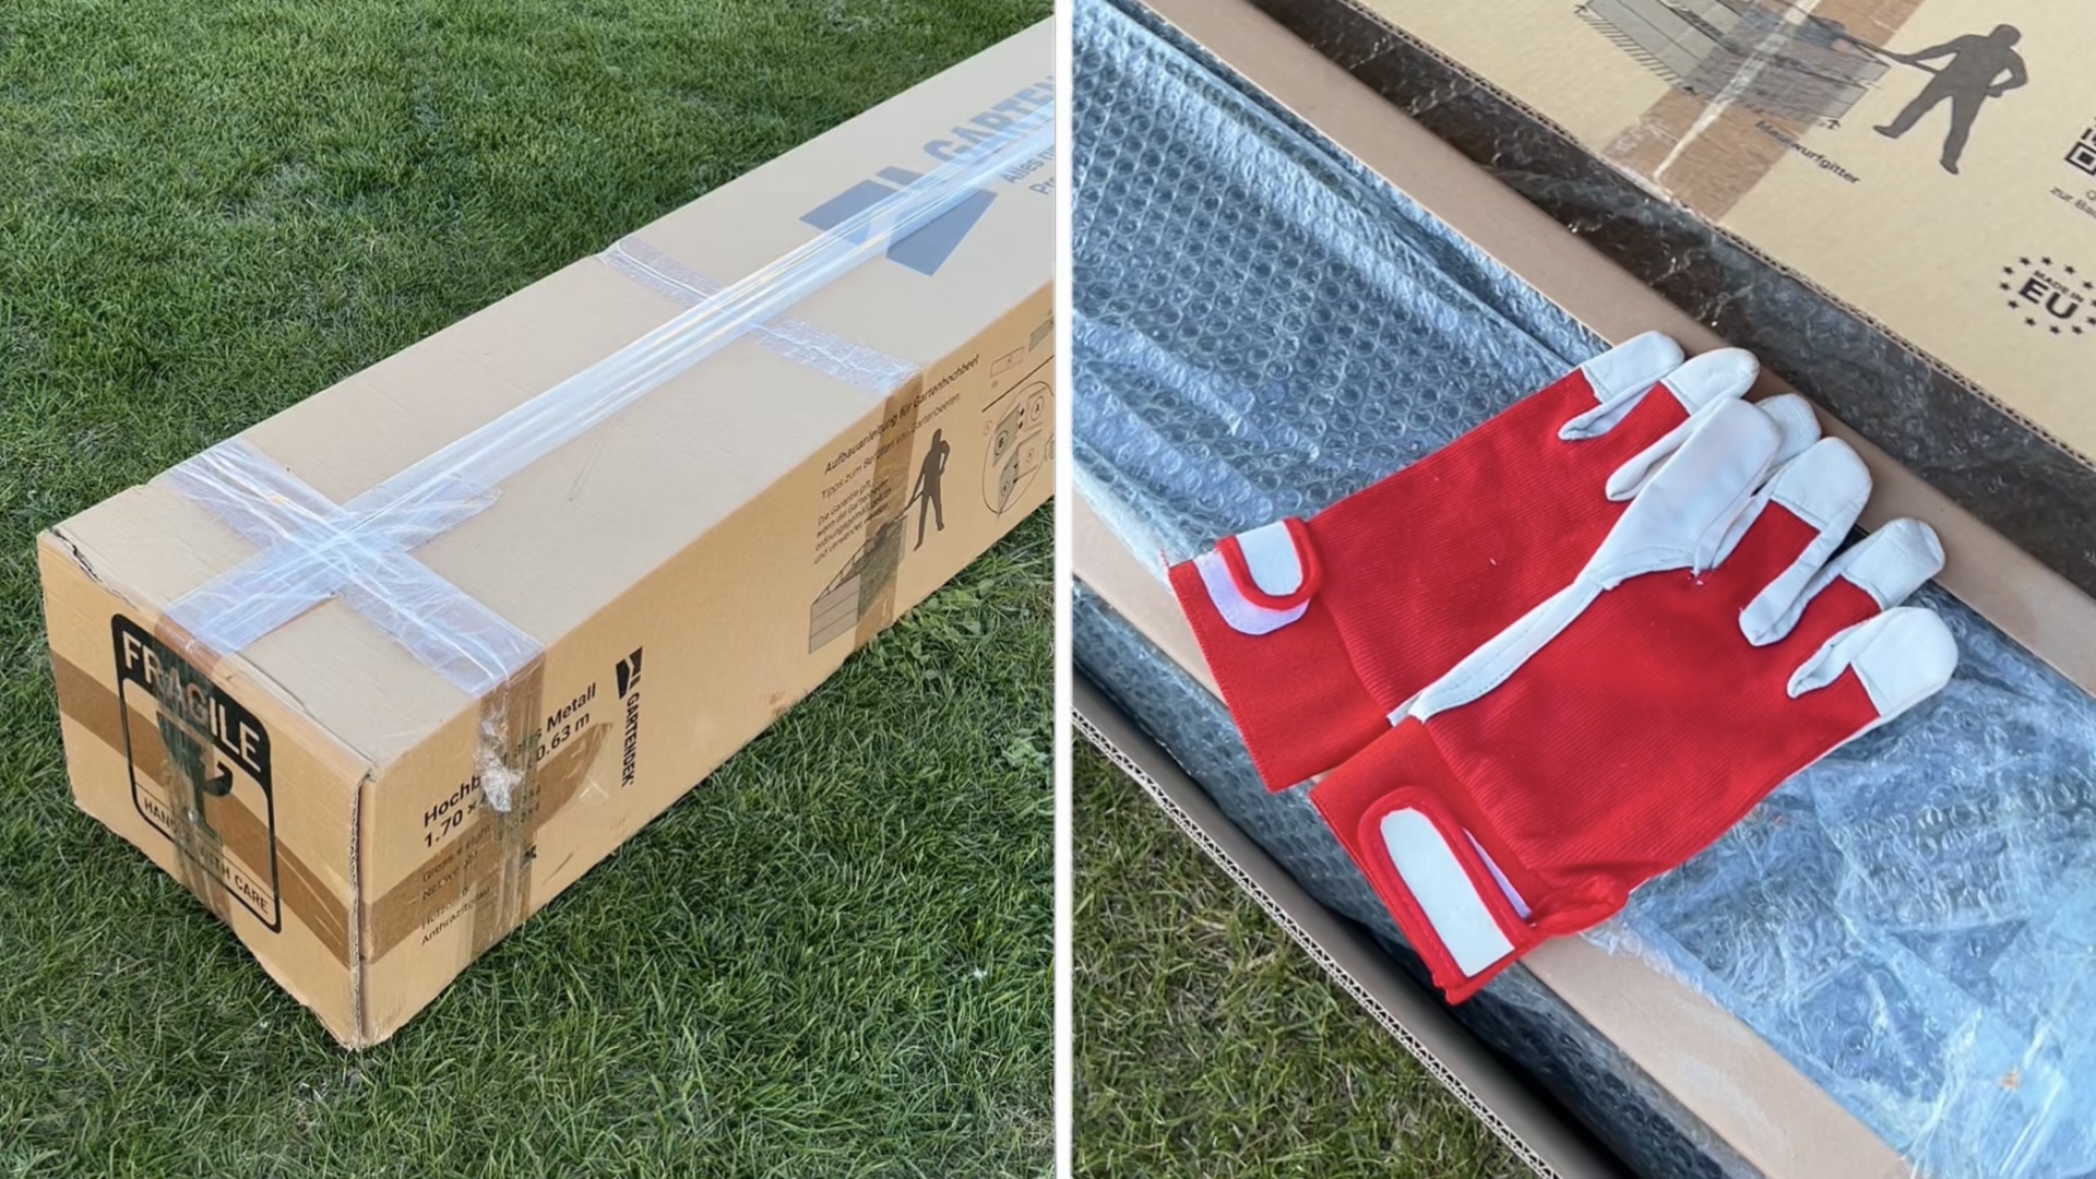
Step 1. Check the Box Contents
Step 2. Assemble the Lower Tier
Take two long and two short panels and lay them out into a rectangle. Insert the fixing tabs on the ends of some panels into the slots on the adjacent panels and bend them. Repeat for all four corners to assemble the rectangular frame of the first tier.
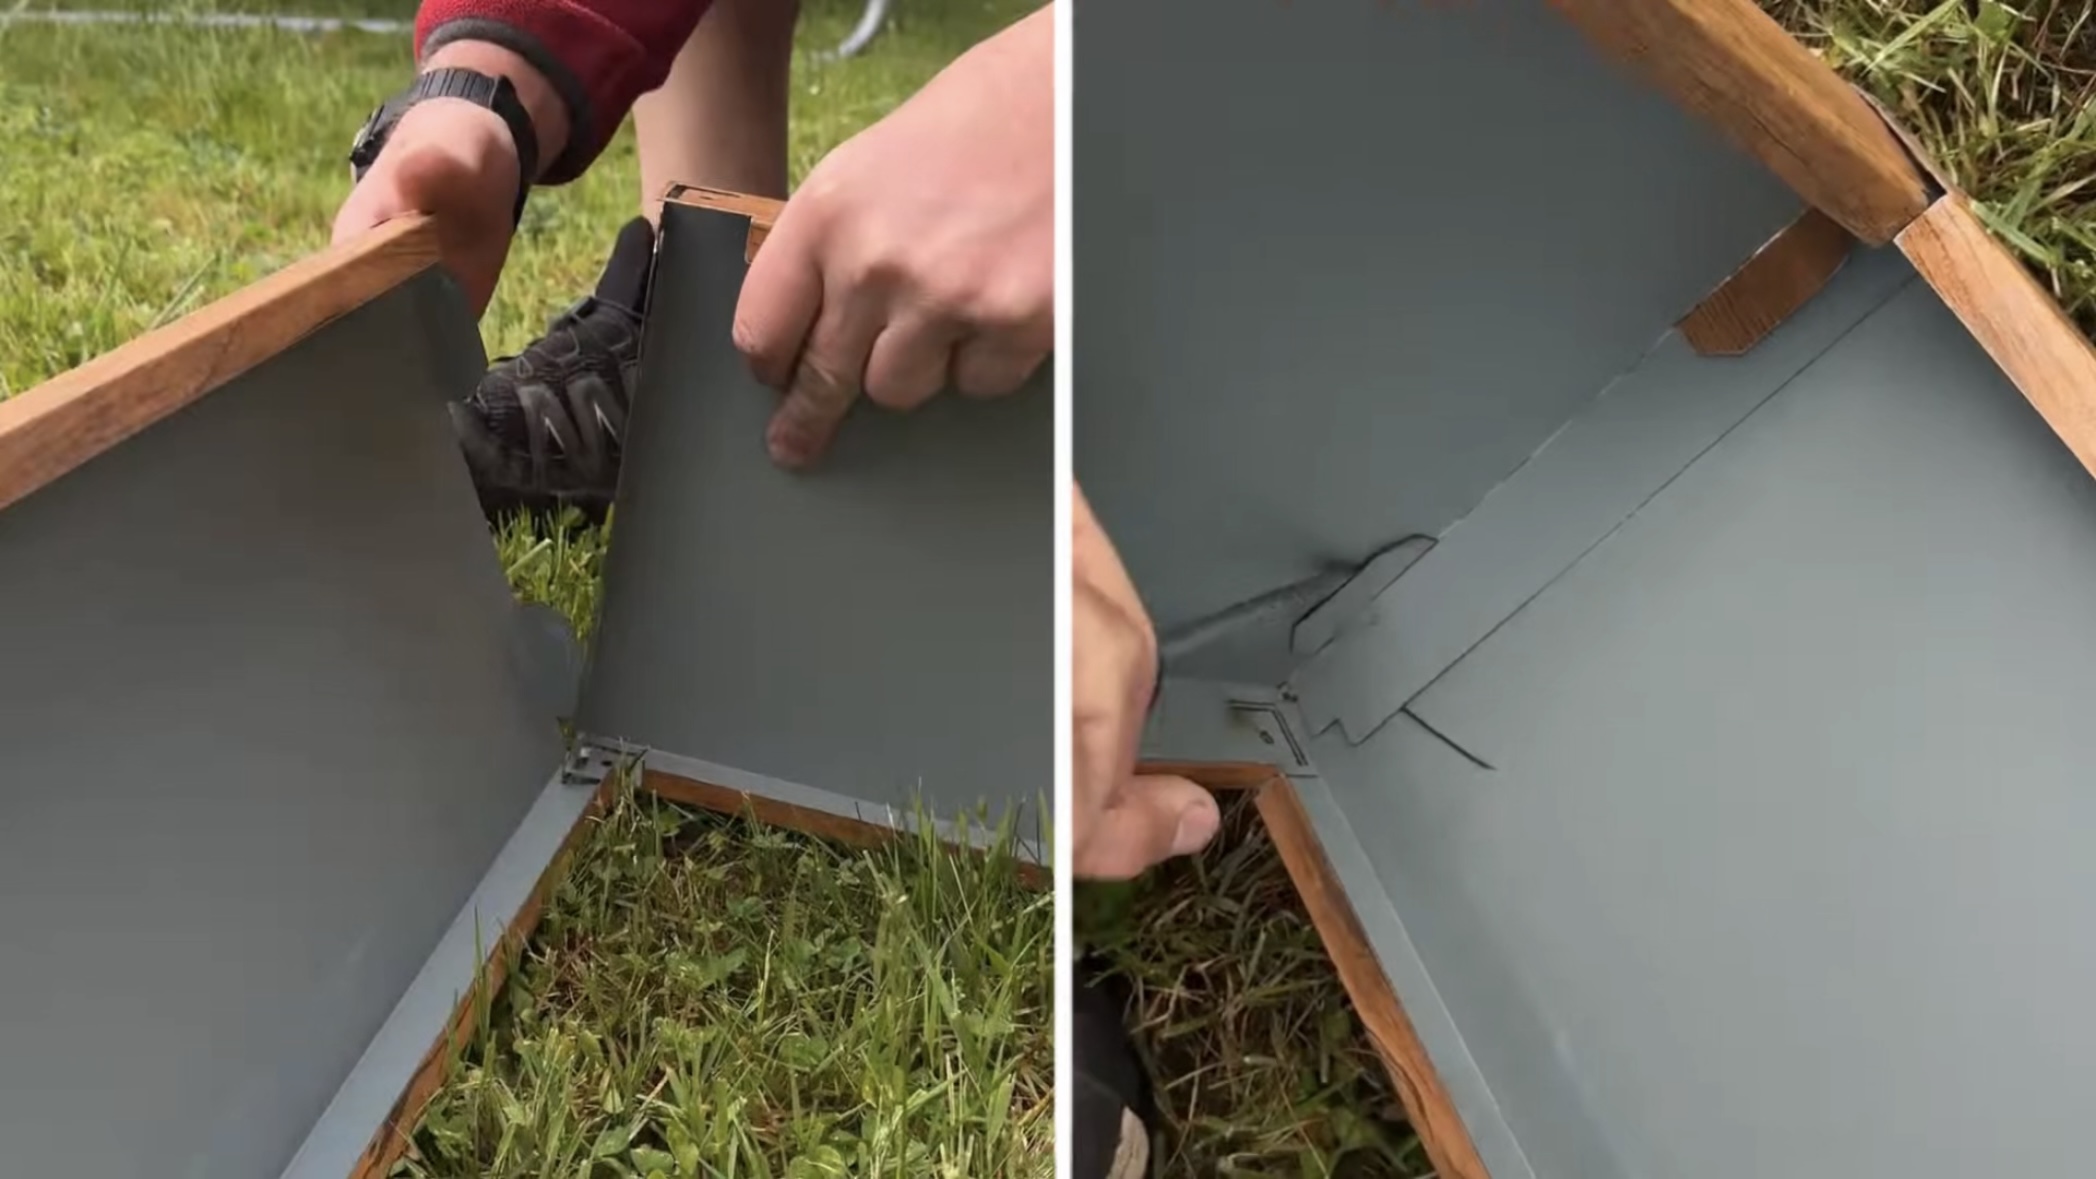
Step 2. Assemble the Lower Tier
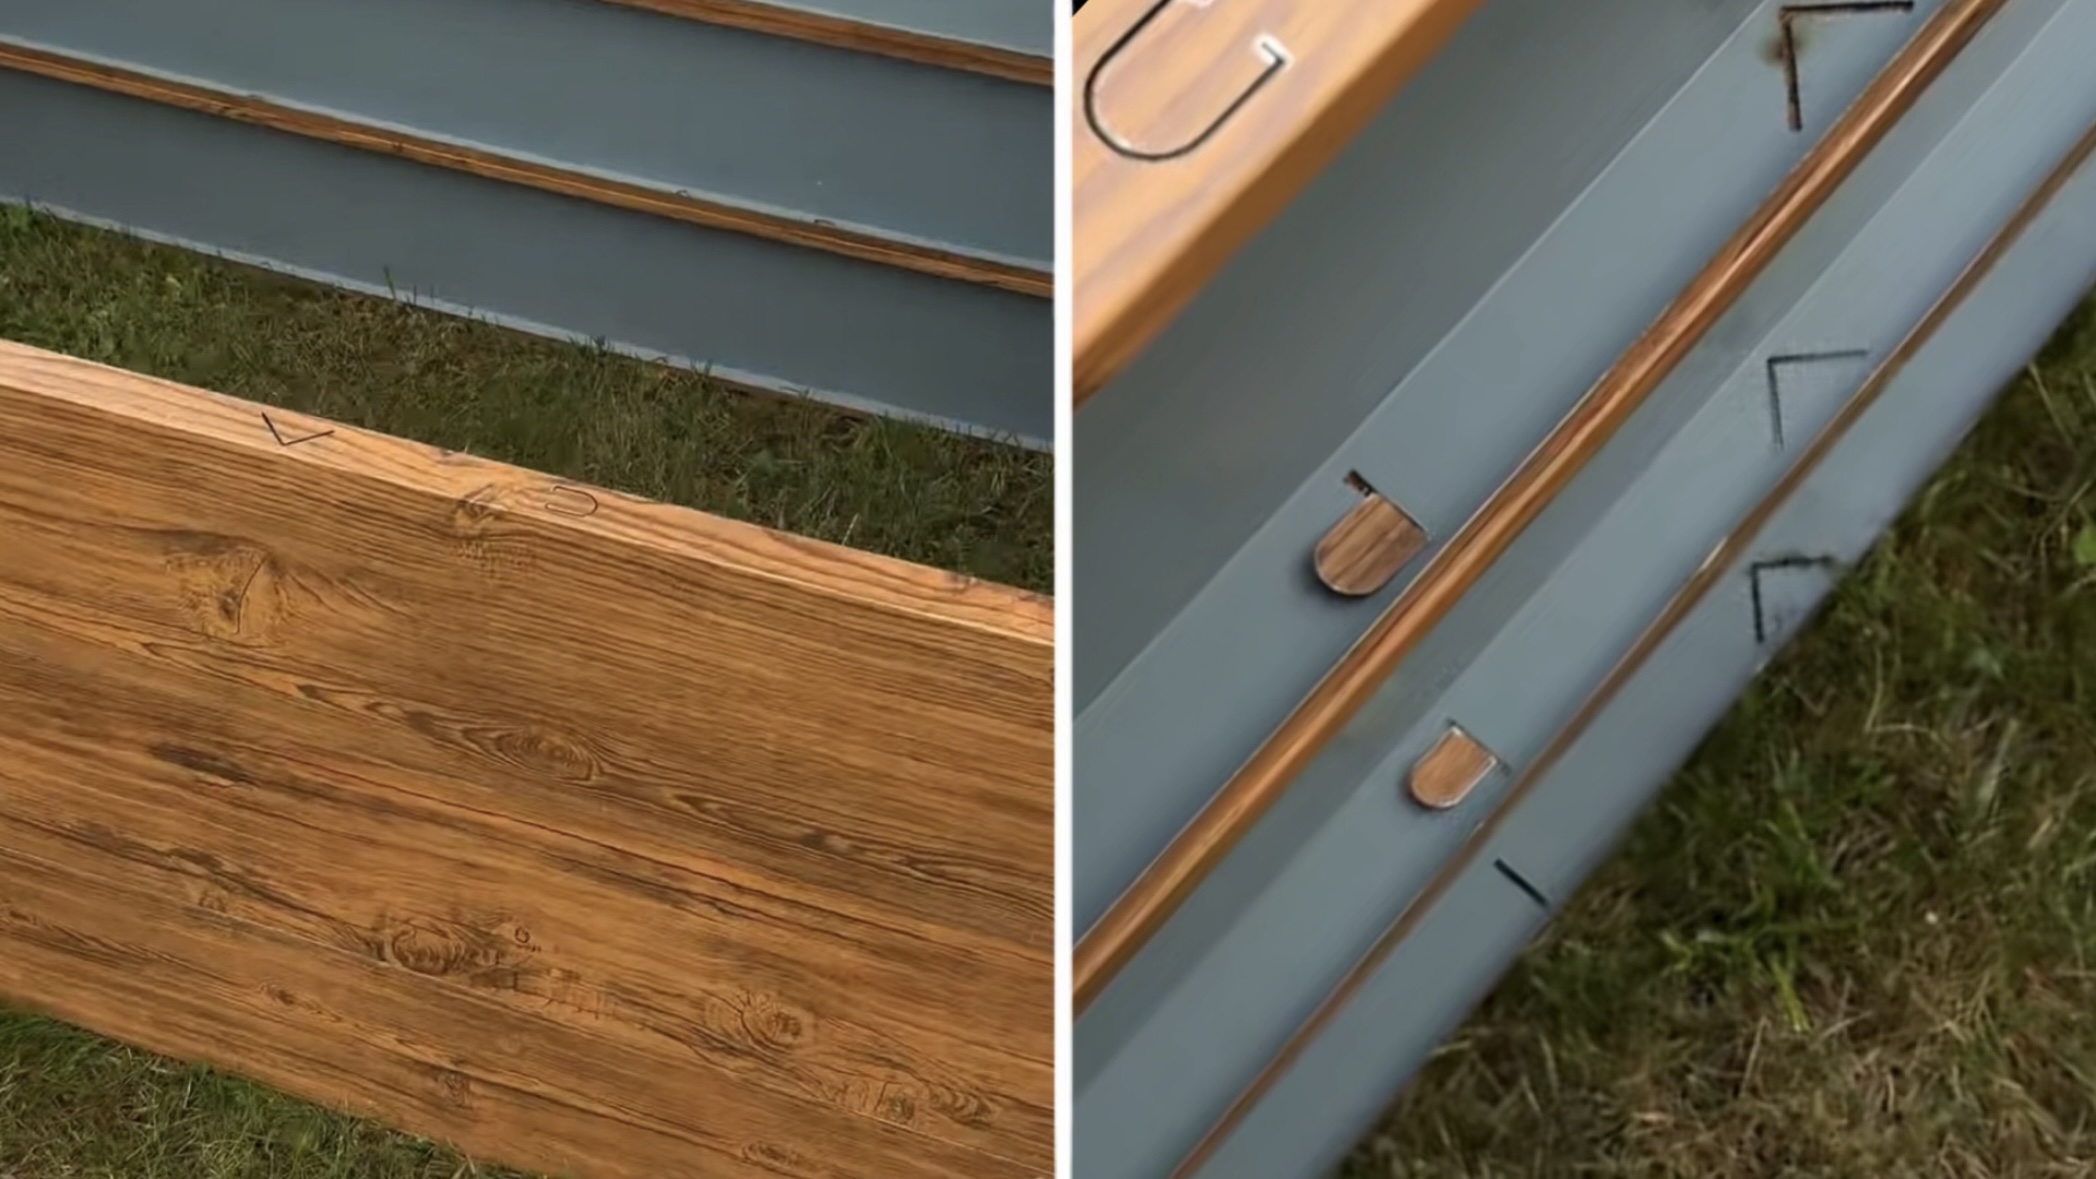
Step 3. Add the Second Tier
Assemble the second tier in the same way. To connect the tiers together, lift the tabs on the top edge of the first tier and bend the tabs on the bottom edge of the second tier.
You should have 4 protruding tabs in total — two on one tier and two on the other. Insert them into the slots and bend them for a tight fit.
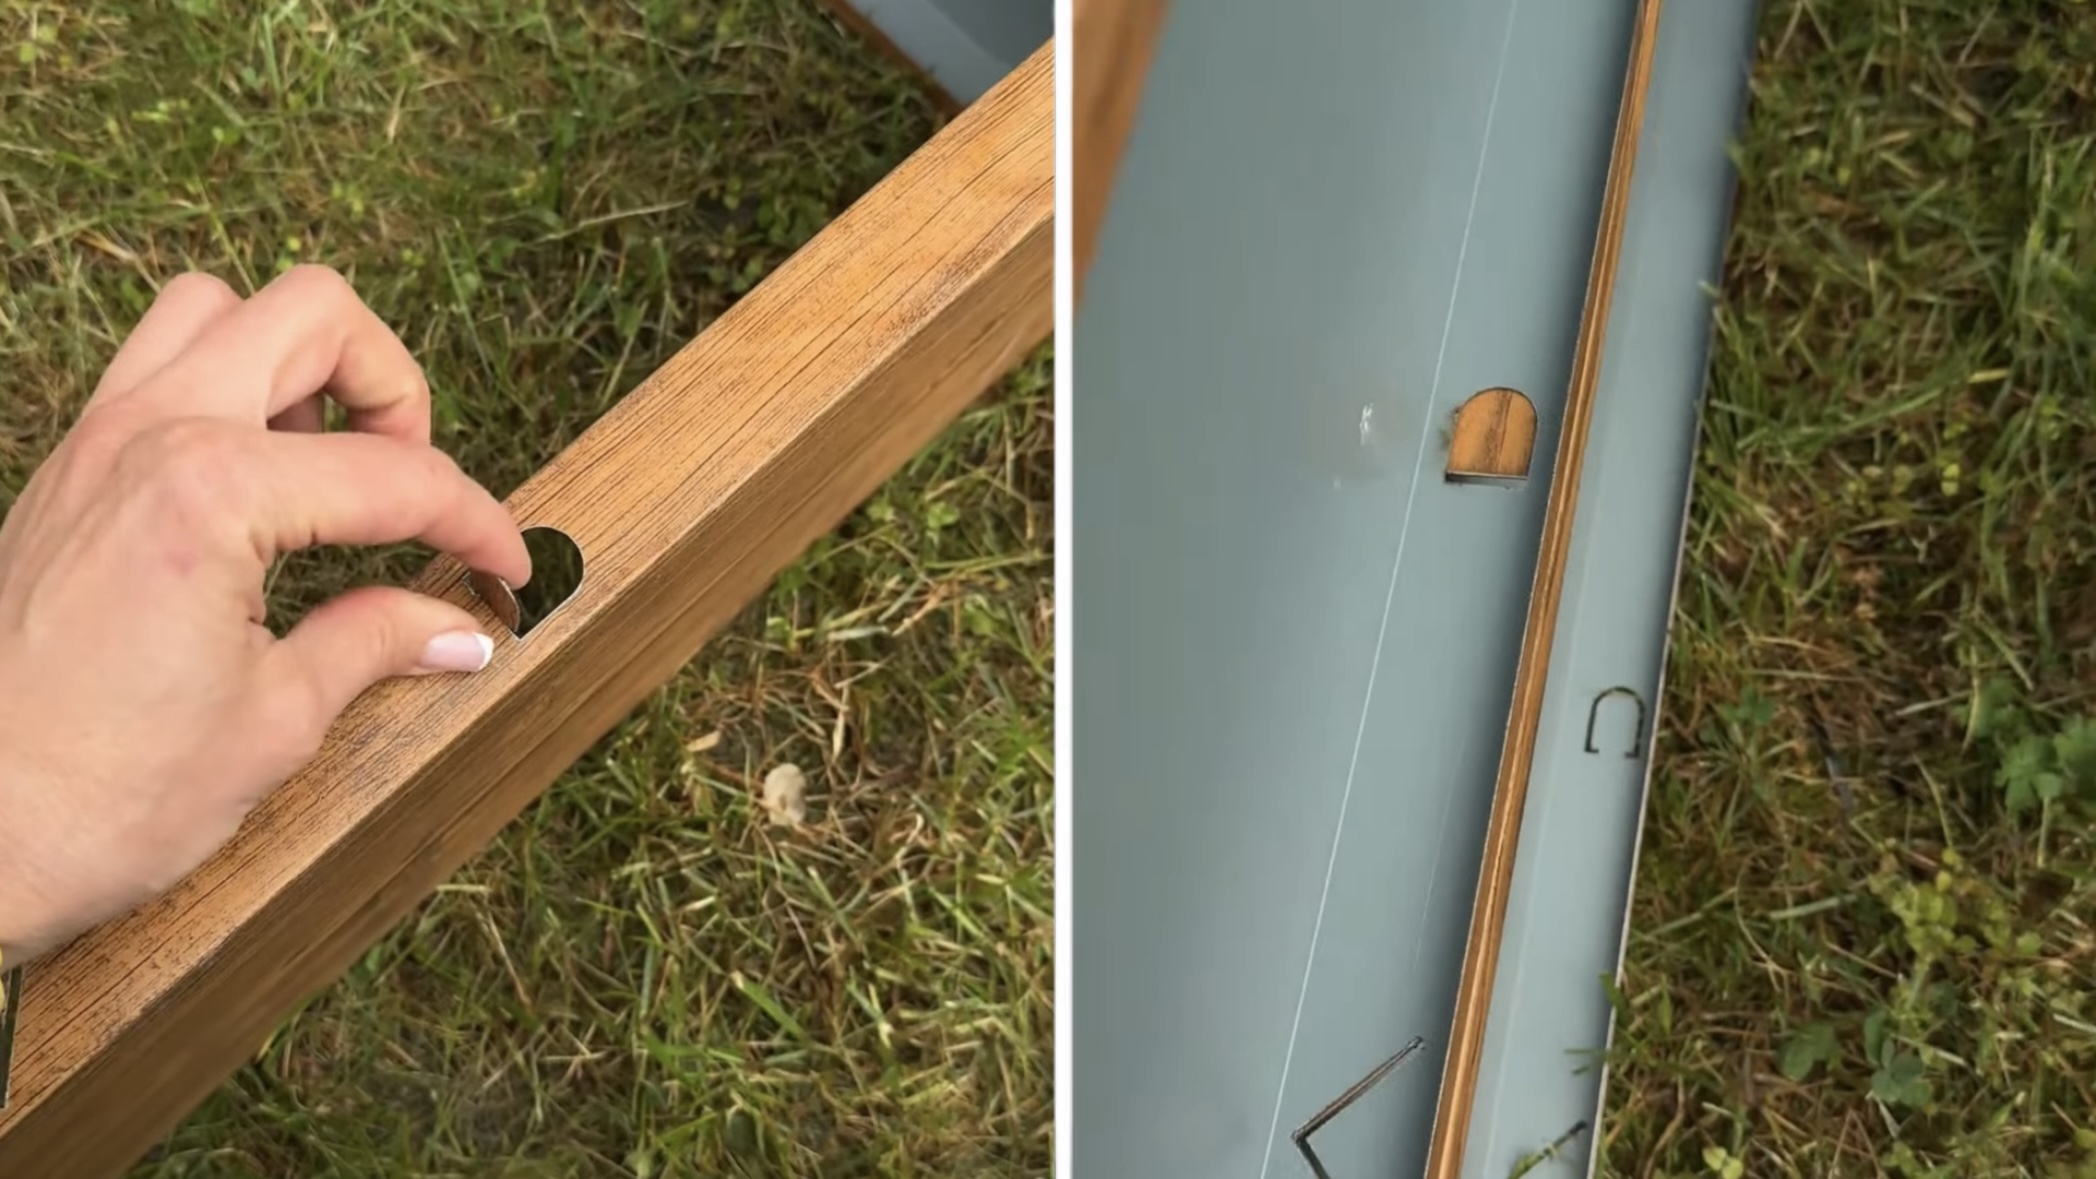
Step 3. Add the Second Tier
Step 4. Add the Third Tier
Repeat the previous step to add the third tier.
Step 4. Add the Third Tier
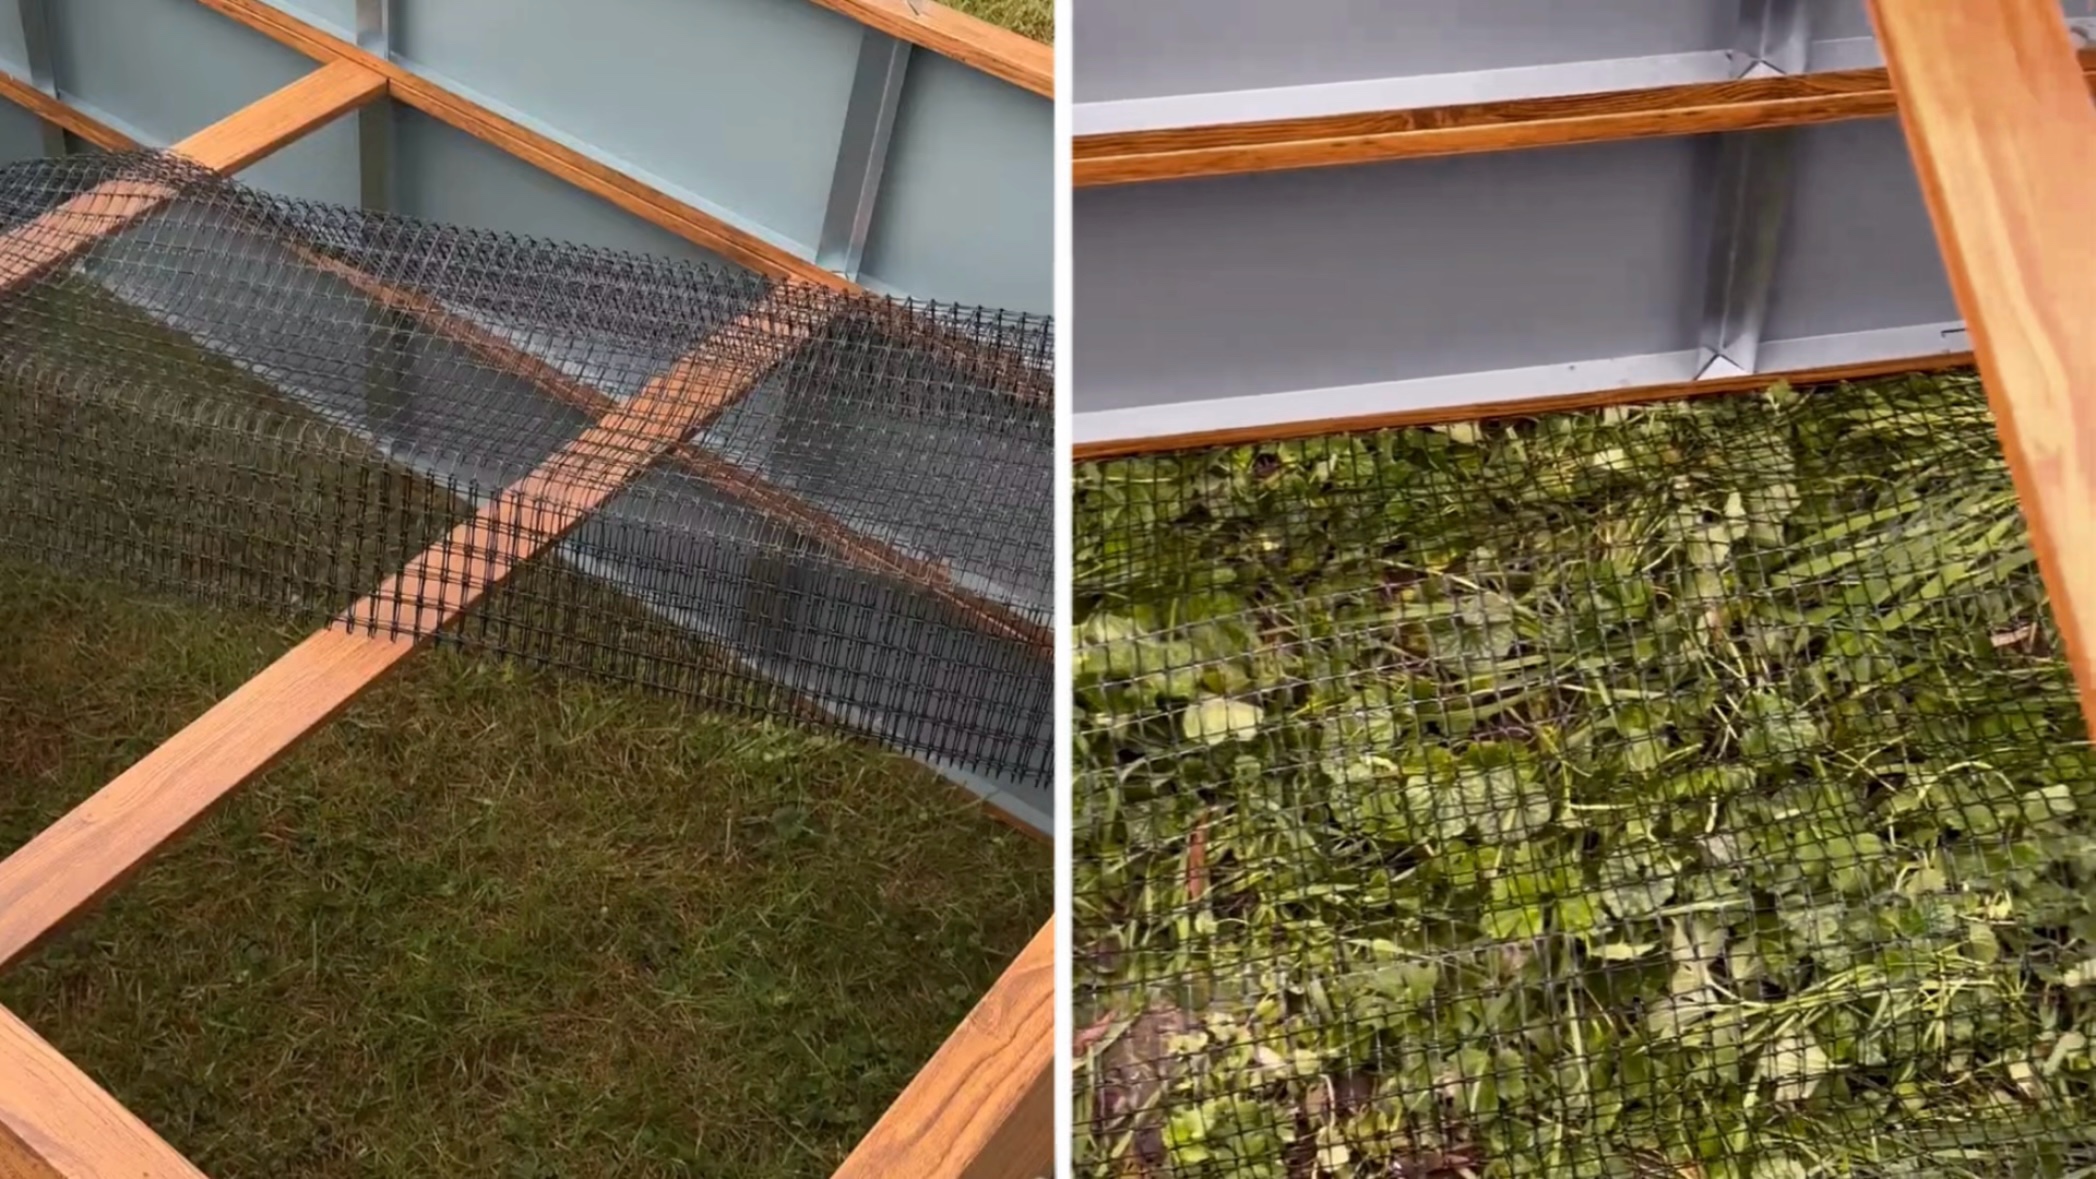
Step 5. Lay the Mole Mesh on the Bottom
If you've already chosen a location for your raised bed, spread the fine-mesh netting on the bottom — it will protect plant roots from moles and rodents from below.
Step 5. Lay the Mole Mesh on the Bottom
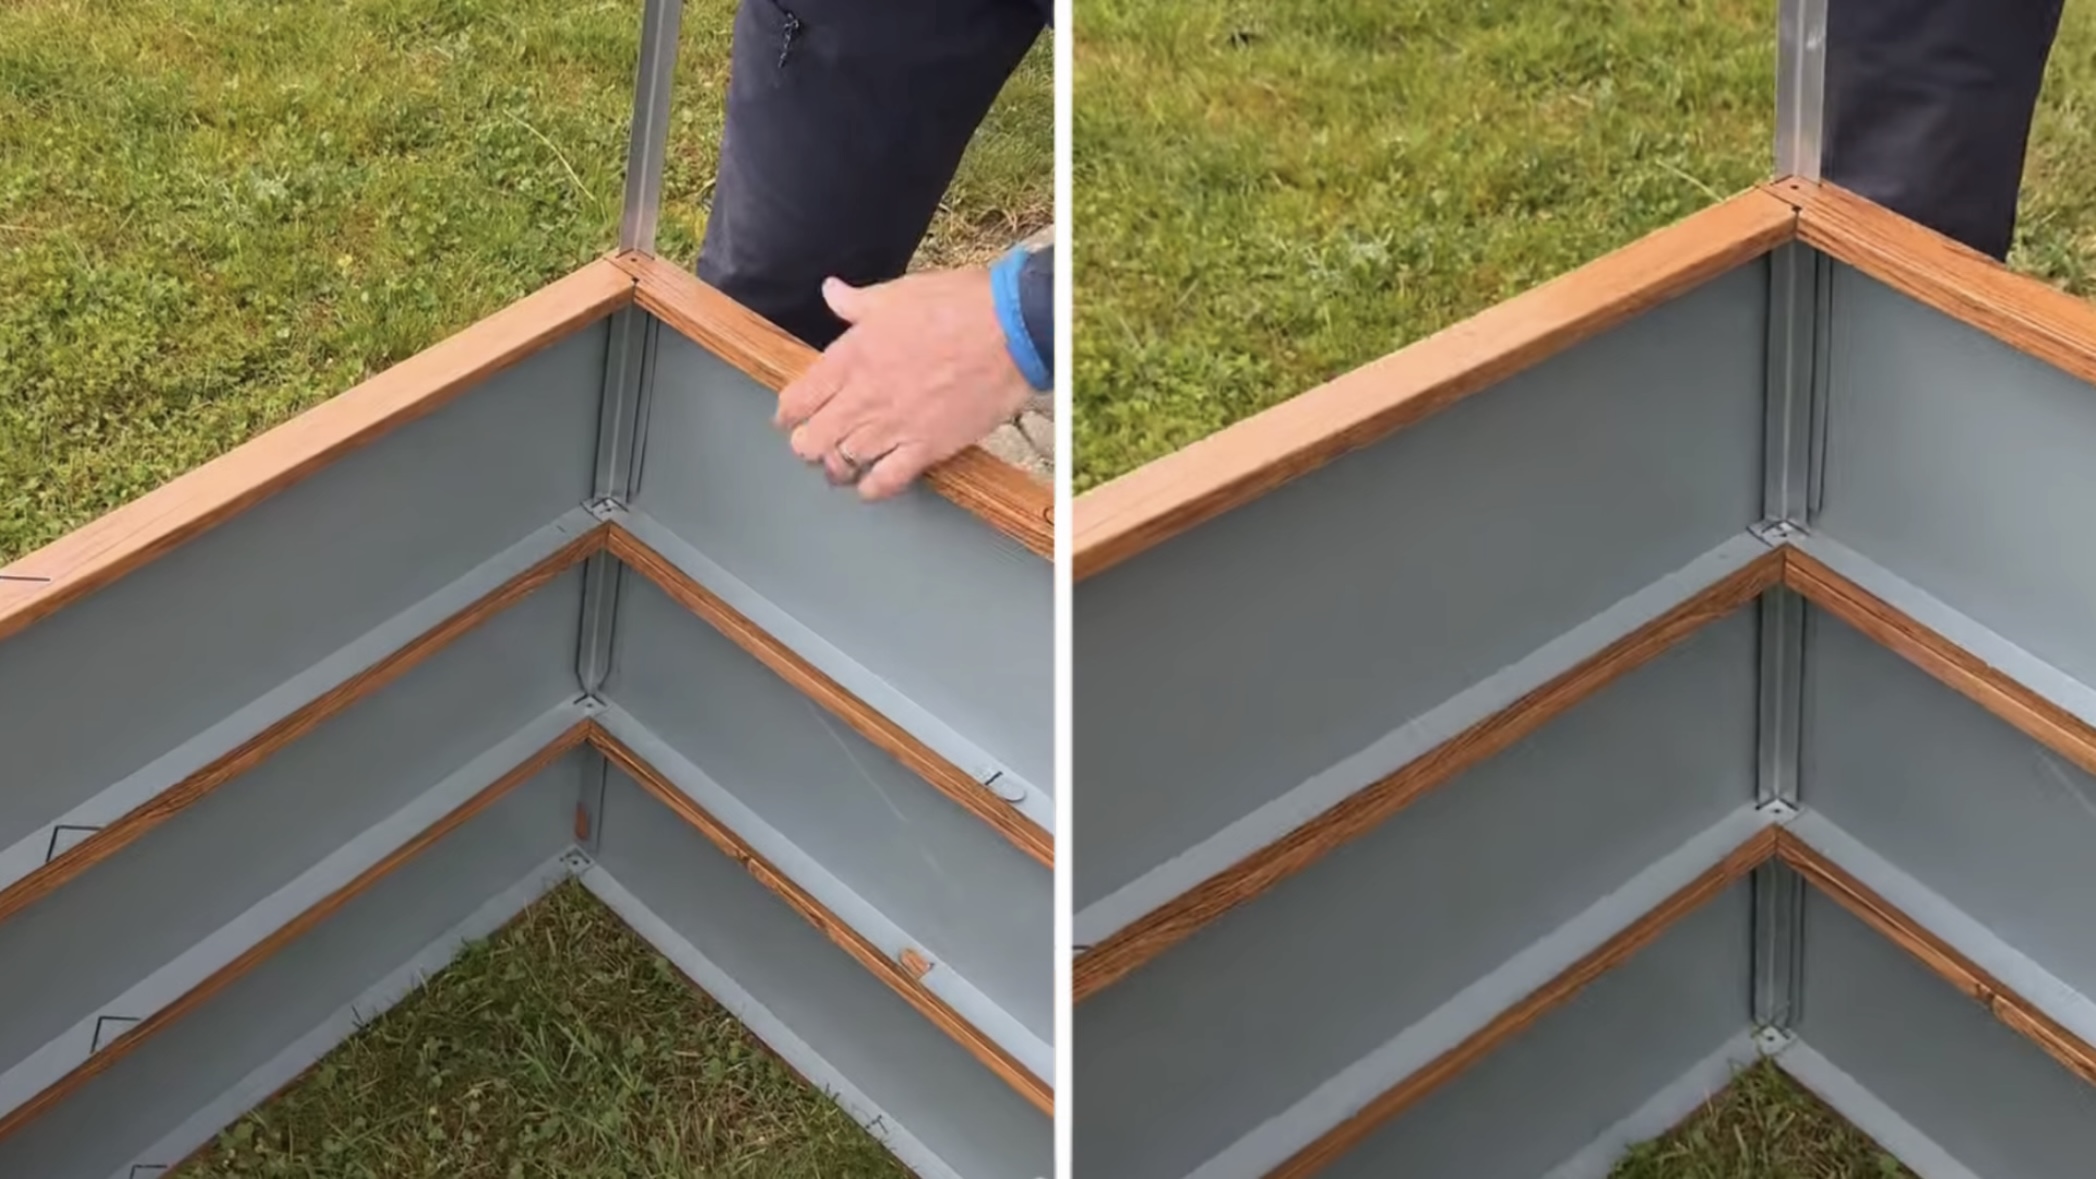
Step 6. Secure the Bed in the Ground
Place the assembled frame on the chosen level surface. To start, insert the stakes only into the corner holes and drive them into the ground with a hammer to about 35–40 cm. This secures the basic shape of the bed before installing the inner crossbars.
Step 6. Secure the Bed in the Ground
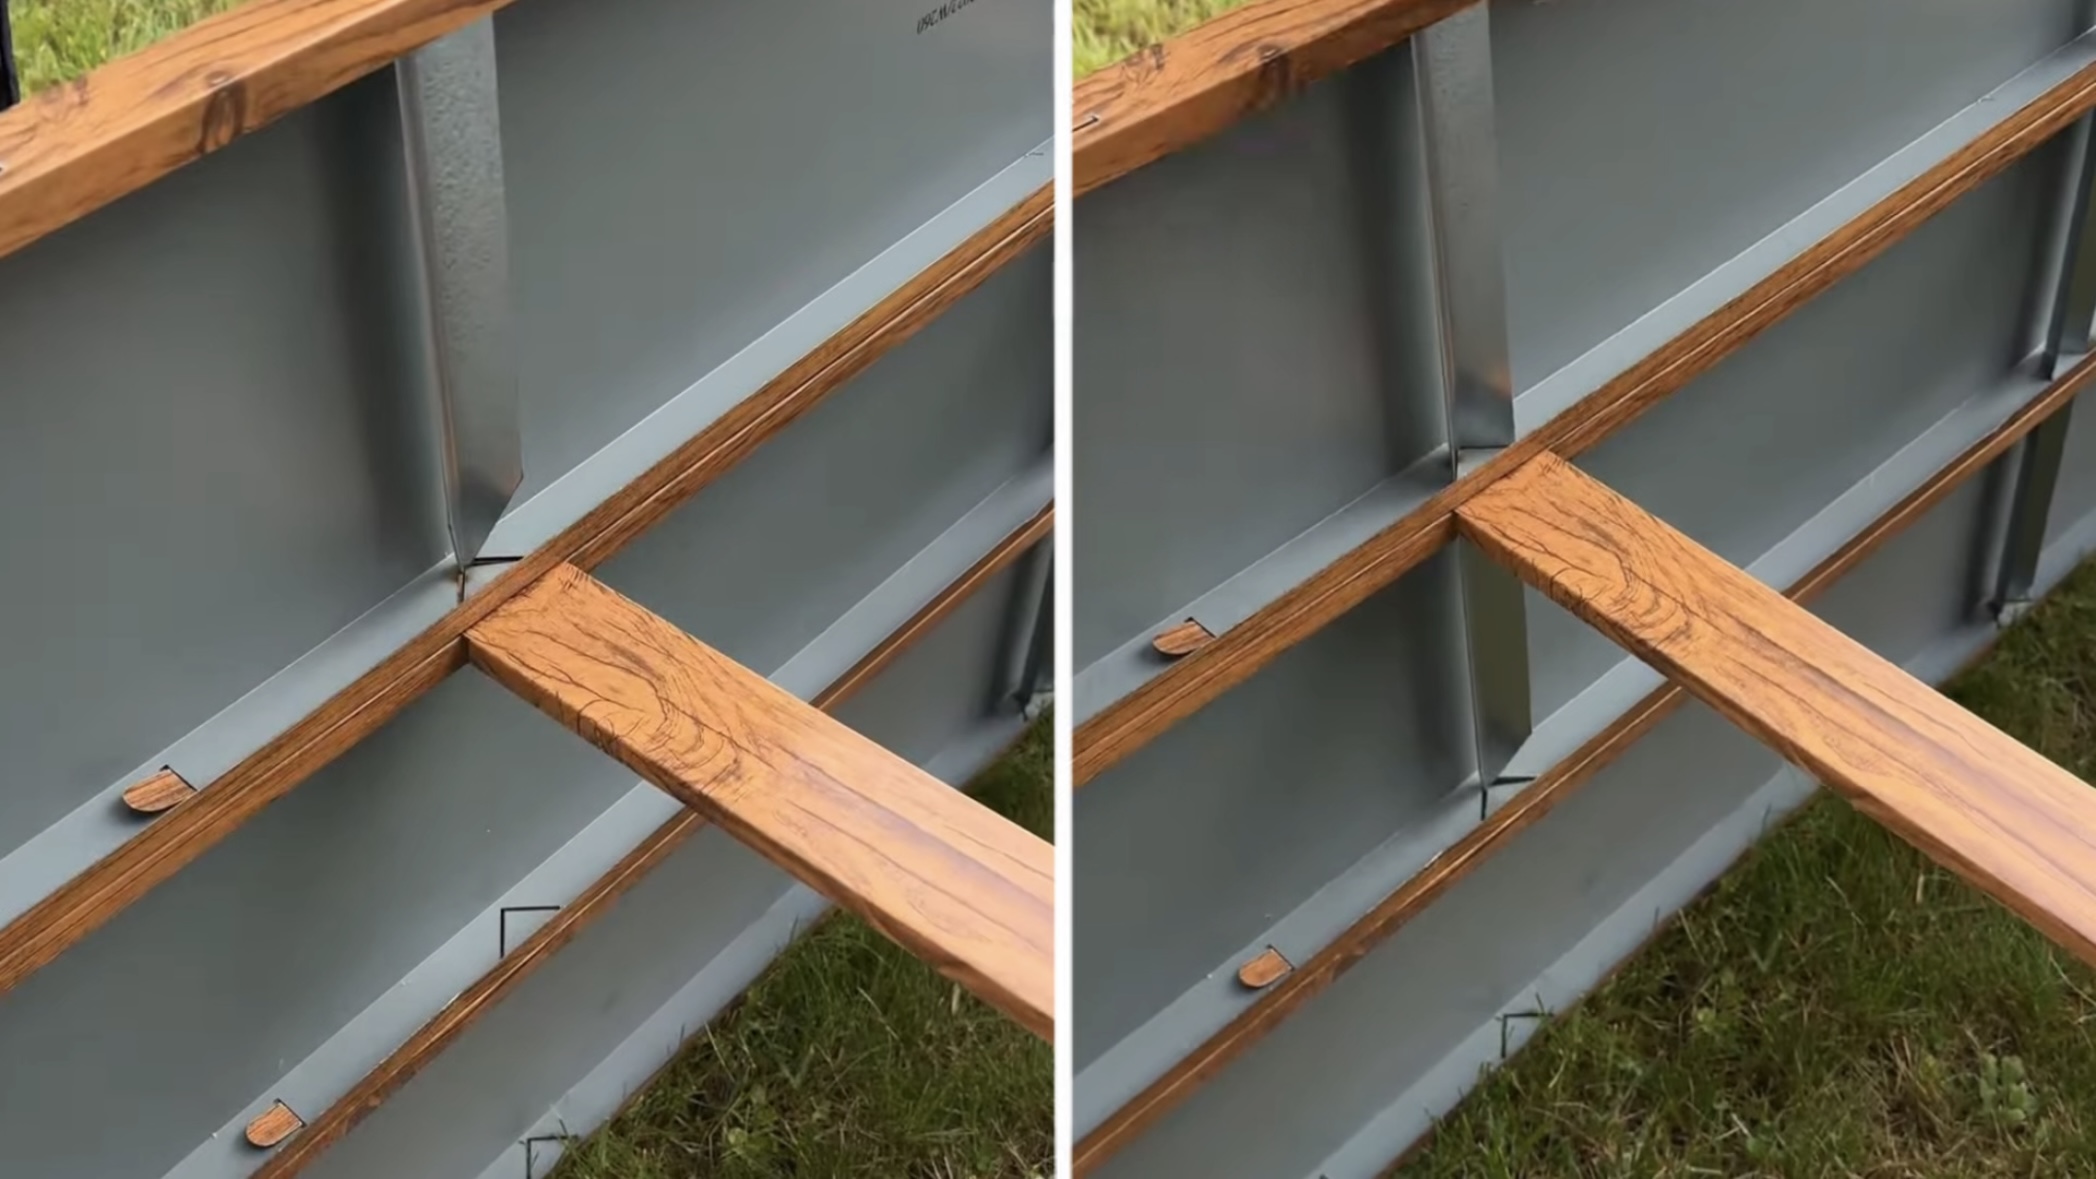
Step 7. Install and Secure the Inner Crossbars
Inside the frame, between the second and third tiers, install a transverse metal crossbar — it connects the long walls to each other and prevents the structure from "spreading" under the weight of the soil.
At the joints where the crossbar meets the walls, insert stakes and drive them 35–40 cm into the ground with a hammer, securing the crossbar. Repeat the operation twice more — a total of three crossbars are installed in the bed, each secured with stakes in the same way.
The metal raised garden bed is fully assembled and ready to be filled.
Step 7. Install and Secure the Inner Crossbars
Video Instructions
Here you can watch the video instructions for assembling our raised bed:
Leave a comment